Why Your Brake Pedal Assembly Is the Most Important Link Between You and a Safe Stop
Quick answer: how to install a brake pedal assembly
- Disconnect the negative battery terminal.
- Remove any covers or panels blocking access to the pedal area.
- Detach the clevis pin connecting the pedal to the brake booster push rod.
- Remove the fasteners holding the assembly to the firewall or floor mount.
- Slide out the old assembly and note the position of all retainers and brackets.
- Install the new assembly, torque fasteners to spec, and reconnect the push rod.
- Reconnect the battery and test pedal feel before driving.
A brake pedal assembly is one of the most safety-critical parts on your car. It is the direct link between your foot and your brakes. Every time you press that pedal, you are triggering a chain of mechanical and hydraulic events that bring thousands of pounds of moving vehicle to a stop.
When that system fails, even a little, the consequences can be serious. A spongy pedal, a pedal that sinks to the floor, or one that barely moves — these are not minor inconveniences. They are warnings.
If you are replacing a brake pedal assembly for the first time, the process can feel overwhelming. But with the right steps and a little patience, it is very manageable.
I’m William Dickinson, and I have spent more than 20 years helping people understand complex systems — including brake pedal assembly repairs — in plain, practical language. Let me walk you through exactly what you need to know.

Key terms for Brake pedal assembly:
Anatomy of the Brake Pedal Assembly
To understand how to fix it, we first need to know what we are looking at. The brake pedal assembly is more than just a piece of metal you step on. It is a sophisticated lever system designed to amplify the force of your leg. Your leg is strong, but it isn’t “stop a two-ton SUV at 60 mph” strong without some help.
The main components include the pedal arm or lever, which provides the initial mechanical advantage. This arm connects to a master cylinder push rod. When you push the pedal, this rod moves into the master cylinder to displace hydraulic fluid. Most modern street cars also feature a brake booster. This device uses vacuum or electronic assistance to make the pedal easier to press.
Inside the assembly, you will find a return spring. This humble spring ensures the pedal snaps back to its original position when you lift your foot. Without it, your brakes might drag, causing heat and premature wear. We also see pivot bushings and pins that allow the arm to swing smoothly. If these bushings wear out, you might feel a side-to-side wiggle in your pedal.
For a deeper look at the technical layout, you can view this Brake Pedal Assembly Diagram. Understanding these parts is the first step toward a successful repair. If you find the mechanical side a bit daunting, we offer extensive brake repair services to help you get back on the road safely.
Types of Brake Pedal Assembly Mounts
Not all cars are built the same way. Depending on whether you drive a classic Chevy, a modern Tesla, or a dedicated track car, the mounting style will vary. The most common type is the firewall-mount (or bulkhead mount). In this setup, the assembly bolts directly to the wall separating the engine from the cabin. It is standard for most passenger vehicles in Southwest Washington.
Then we have floor-mount assemblies. These are often found in race cars or specialized performance vehicles. They sit on the floor of the cockpit, which can lower the vehicle’s center of gravity. Overhung or swing-mount pedals hang from a bracket under the dashboard. This is a very popular configuration for modern trucks and SUVs.
Performance enthusiasts often look for assemblies made from forged aluminum. Brands like Tilton and Wilwood offer these for high-leverage applications. These assemblies often feature adjustable ratios. For example, the Tilton 600-Series allows you to fine-tune ratios between 5.29:1 and 5.75:1. This adjustment changes how much “work” your leg does versus how much the brakes bite.
Signs You Need a New Brake Pedal Assembly
Knowing when to replace your brake pedal assembly can save your life. One of the most obvious signs is a change in “pedal feel.” If the pedal feels spongy, it often suggests air in the hydraulic lines or a failing master cylinder. However, if the physical linkage is bent or the bushings are shot, the pedal may feel loose or disconnected.
A “hard pedal” is another red flag. This usually points to a failure in the brake booster, but a binding pedal pivot can also cause resistance. If you press the pedal and it goes all the way to the floor, stop driving immediately. This indicates a major hydraulic failure or a snapped mechanical link within the assembly.
We also watch for excessive play. If you can move the pedal left and right with your foot, the pivot bolt or bushings have likely failed. You might also notice a failure to return. If the pedal stays down after you let go, the return spring is likely broken or the linkage is snagged.
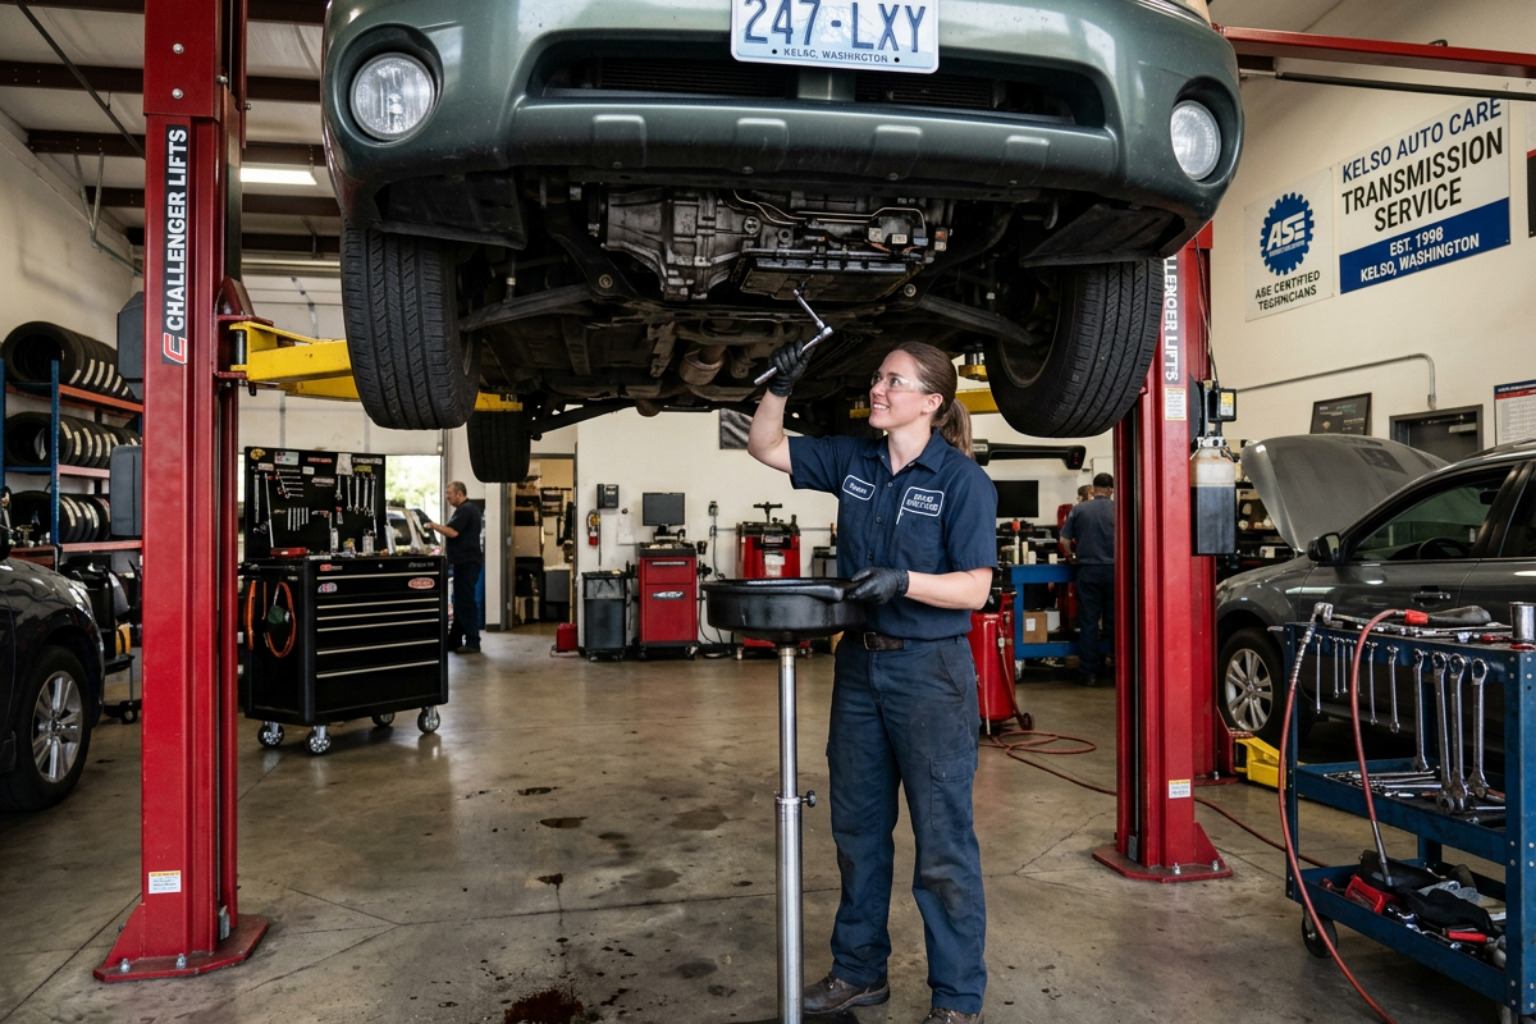
Sometimes, issues with the pedal assembly manifest as vibrations. While a shaking steering wheel usually means warped rotors, a vibrating pedal can sometimes be traced back to loose assembly mounting bolts. If you aren’t sure what your car is trying to tell you, check out our brake repair services for a professional diagnosis.

Installation and Maintenance Guide
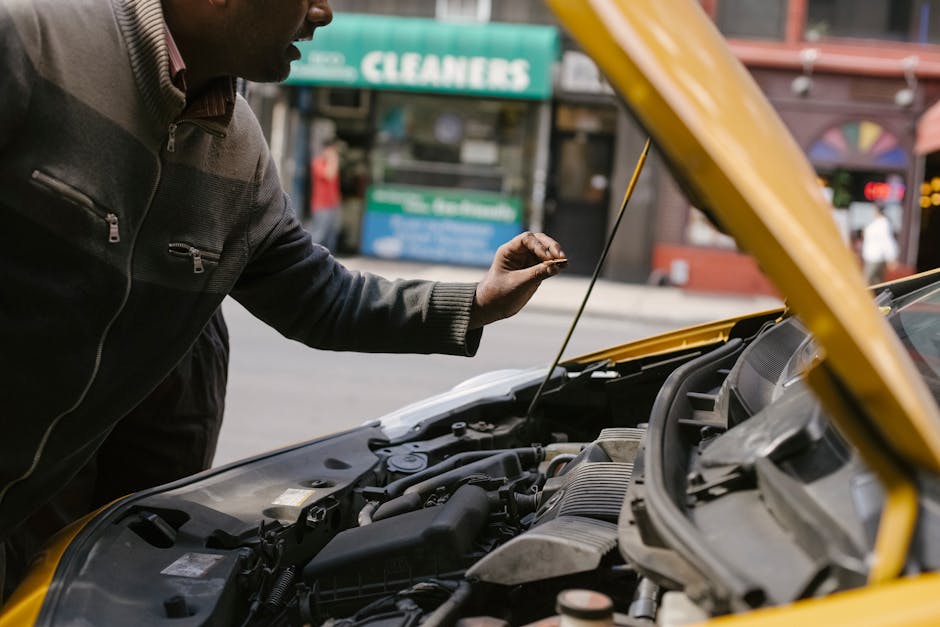
Replacing a brake pedal assembly is a job that requires focus. Before you start, gather your tools. You will usually need a socket set, a flashlight, and a pair of pliers for the cotter pins. Always start by disconnecting the negative battery terminal. This prevents accidental shorts, especially if you are working near the brake light switch or steering column sensors.
First, remove any plastic trim panels under the dashboard. This gives you a clear view of the pedal box. You will need to disconnect the brake light switch connector and the accelerator pedal sensor if they are integrated. Next, locate the clevis pin. This pin connects the pedal arm to the brake booster push rod. Pull the clip, slide out the pin, and the pedal should swing freely.
Now, unbolt the assembly from the firewall. There are usually four nuts surrounding the push rod and perhaps one or two bolts higher up. For specific vehicles like a Tesla, refer to the Tesla Model S Service Manual for precise steps on handling electronic sensors.
When installing the new unit, ensure the mounting surface is clean. Torque the fasteners to the manufacturer’s specifications. For many modern cars, this is around 12 to 16 lbs-ft, but always check your manual. Once installed, pump the pedal several times to ensure smooth operation. For more on maintaining your entire braking system, see our Mercedes GLC pad guide.
Final Adjustments for the Brake Pedal Assembly
Once the new assembly is bolted in, the job isn’t quite finished. You need to verify the pedal ratio and feel. In performance setups, you might have a balance bar. This bar allows you to adjust how much braking force goes to the front wheels versus the rear. It uses a center pivot bearing that moves laterally to change the load sharing.
If your assembly uses trunnion bearings, ensure they are lubricated and moving without friction. Friction is the enemy of good brake feel. High-end units often use PTFE-coated clevises and bronze bushings to keep things silky smooth. This is vital for race cars but also makes a world of difference in a daily driver.
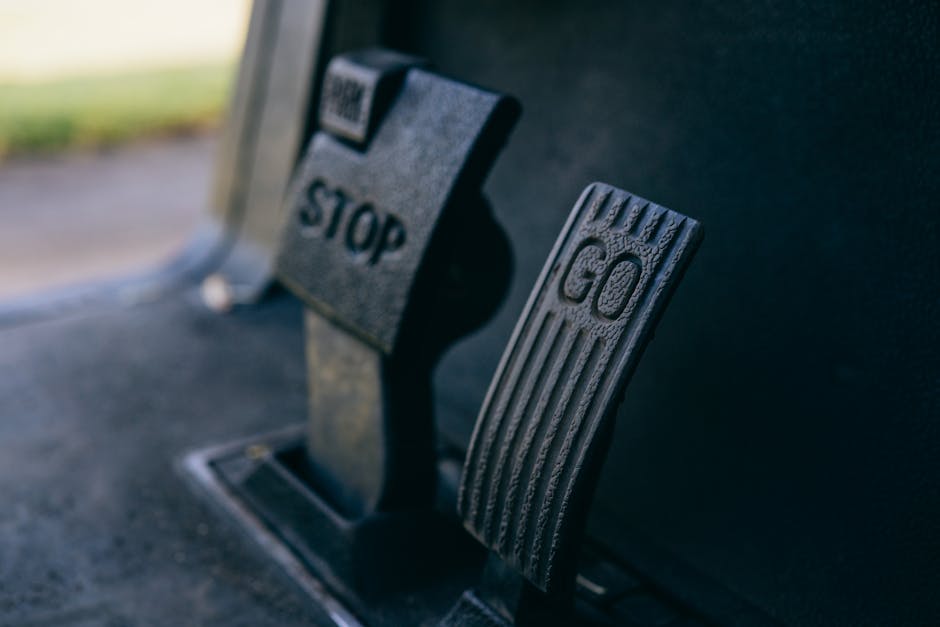
Don’t forget the ergonomics. Many aftermarket pedals allow you to adjust the foot pad position. You can move the pad up, down, or side-to-side to suit your driving style. Ensure the rubber pad is secure and provides plenty of grip. A slipping foot is a recipe for disaster in an emergency stop.
Frequently Asked Questions
Why does my brake pedal feel spongy?
A spongy pedal is almost always a sign of air in the hydraulic system. Because air is compressible and brake fluid is not, the air bubbles act like tiny springs. This absorbs the force you are trying to send to the calipers. Other causes include a failing master cylinder internal seal or severely worn brake pads. If the brake pedal assembly itself is flexing due to a cracked mounting bracket, it can also create a vague, spongy sensation.
How often should I inspect the brake pedal assembly?
We recommend a quick inspection every 6 months or 6,000 miles. Most people ignore the pedals until something goes wrong, but a proactive check is safer. Look for worn rubber pads, check the tightness of the mounting bolts, and ensure the return spring is intact. A quick squirt of lithium grease on the pivot point can prevent squeaks and keep the action smooth for years.
Can I install a performance pedal in a street car?
Yes, but it often requires custom fabrication. Most performance assemblies, like the Wilwood Tru-Bar or Tilton 800-Series, are designed for racing. They may not have the same mounting points as your factory firewall. You might also need to change your master cylinder configuration. While these offer incredible feel and adjustability, they are best suited for projects where you are willing to modify the floor or firewall.
Conclusion
At Bob’s Lil Car Hospital, we believe that your safety should never be a guessing game. Whether you are cruising through Kelso, WA, or commuting between Longview and Kalama, your brake pedal assembly must be in top shape. It is the heart of your car’s control system.
If your pedal feels “off” or you are ready to upgrade your classic Chevy or modern EV, don’t wait. Our team provides professional care and safety assurance for every vehicle that enters our shop. We take the stress out of car repairs with genuine care and expertise.
Have a question about your specific vehicle? Visit our services page to see how we can help. If you’re in Southwest Washington and need a hand, give us a call and ask a question. We’re here to make sure your next stop is a safe one. Visit our homepage to learn more about our commitment to excellence.